Before we create any new custom post types let me briefly show you which post types are available in WordPress out of the box. This tutorial is been offered us by https://howdodesign.com/. WordPress has three main post types you use all the time.
They are posts, those are the blog posts that have categories and tags. They are pages, these are the static pages that are sorted based on parent child relationships, and you also have a custom post type called attachment posts. These are individual posts that are created anytime you upload media elements like images, or documents, or anything else, and they are available through the media section.
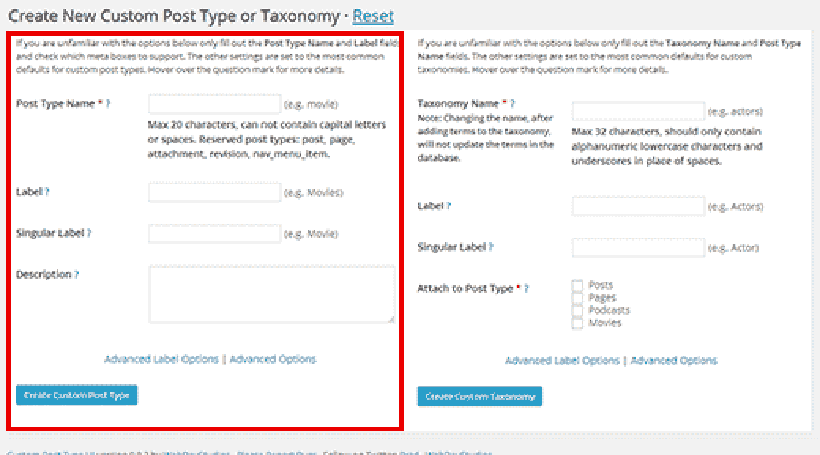
One called testimonials and one called reviews, and I’ll show you how to display the information from these post types on the front end. So if you don’t want to write all the code to create these custom post types later on, you need to create them here and now, and all of that is done under the CPT UI menu item.
From here select Add Edit Post Types to create a new post type. Now we’ll look at all the custom settings here in a little bit, but for now we’ll just create two post types to get them to work.
You really only need three pieces of information to crate a post type. The post type slug, a plural label, and a singular label. The post type slug is the machine readable name for the post type and it’s also what will appear up here in the address field when you start creating posts for the post type.
Here you have to enter a name that has letters. It can also have dashes or underscores, but it can’t have things like a forward slash or anything else. So in my case I’m creating a post type called testimonials.
So I’ll put in a plural name here, testimonials. Doesn’t matter if you make this all caps or (mumbles) or whatever. It’ll all be lowercase by the end anyway.
Then we give it a plural label. So this is many testimonials. This label will be used by things like the main menu here. So you can see it says posts and pages, and it will eventually say testimonials as well. Then we need a singular label. This is for individual testimonials. So here I’ll call it testimonial.
And then we can just add the post type. Now pay close attention to the main menu over here on the left hand side when I click this button. Once a post type is created it automatically gets registered as a new post type and that post type appears down here below Comments by default. Later on I’ll show you how to move it elsewhere in the menu.
Technically all that’s needed for a custom post type to work is the post type slug, the plural label, and the singular label. However, if you create a custom post type, it would also benefit you to add all the additional labels that control how we talk about the custom post type on the backend of WordPress and all the custom settings for this custom post type.
So you can toggle on the features you want, toggle off the features you don’t want, and decide how the custom post type operates, who it is available to, and what they can do with it. All these additional labels and settings can be configured when you first create the post type and they can also be edited later on by going to the edit post types tab.
From here you can use the selector to select which custom post type you work with. You’ll also notice you can’t make any changes to the post types that come with WordPress out of the box. So posts, pages, and attachment pages are off limits, but any custom post type you’ve created or that have been created by some other plugin will be available from here.
Off the top we have the post type slug, plural label, and singular label. Now technically you can edit these here. However, if you edit the post type slug, you are effectively creating a new post type.
So if you’ve already started creating content for this post type, and you change this field, then all of the sudden you’re working with a different post type and the old posts will vanish into the database and will not be available until you recreate this original post type.
So basically once you’ve created a post type, leave post type slug alone. In this movie we’ll take a closer look at the additional labels because there’s a lot of them and it’s important to understand why they matter and why you should fill them out. Right now we only have two labels.
That is the plural name and the singular name. You can see the plural name appear here in the main menu, so it’s testimonials, and all testimonials, and when you click Add New you end up on this page we can add a new post and here it says add new testimonial but look what happens when I create this new testimonial.
When I click Publish here, all the text within this page treats the testimonial as a post. So it says post published and view post, and there are other settings too.
So if you start deleting the post and doing other things you also get those same messages. This is because WordPress doesn’t yet know what we want it to say so it’s just defaulting back to a post. We can change all this from additional labels.
So here off the top we can create a post type description. This can be used in the front end to provide description when you’re on the index page for the post. Just like you have descriptions for categories and tags. Then you can customize the menu name. That is the name that appears here in the menu. So if you don’t want it to say testimonials but something else, you put that in here.
You can customize the messages for all items. That would be what it says here. So all testimonials. You can customize the message for add new. So here you can type in add new testimonial. You can add it for add new item. So again, add new testimonial. You can add it for edit item. So here you see right now it says edit testimonial. You can add it fro view item. That’s what you see here. So currently it says view post.
So I can change that to view testimonial. Then you have view items, that is a plural. You have search item. This is if you want to do a search internally inside all the testimonials. When you go to testimonials index here you have the not found text that displays any time you make a search for a testimonial but you don’t find anything.
Then you have not found in trash, you have parent, and featured image, and set featured image, and remove featured image, and the list goes on and on and on and on. It looks like a long list but it’s pretty easy to fill out and my advice is to fill out all of these fields so you know exactly what is being displayed on the backend.
This is especially useful if you’re creating a custom post type in a different language. For instance Norwegian which would be my language because WordPress will default to display everything using English.
So if you put something in, in a different language, and you want to customize the messaging, you do that here. If you’re ever in doubt about what a particular field does, just read the description underneath. It’s quite descriptive and explains exactly what these labels are for, and you can also see them take affect in the admin panel. The last thing I’ll say is, these labels only apply to the admin panel.
No one will ever see them on the front end of the site. So this is purely for the user experience of going into the backend of WordPress and working with the testimonials.
That also means as you add the labels you have to think about the person who is going to be using this post type on the backend and what information they need to make sense of the post type. That’s the information that goes in these additional labels. Once you’re done filling out all the labels, scroll to the bottom, click Save Post Type, and all the labels are automatically applied to your site.
Let’s just ignore these new options that have appeared up here in the tab section and create our second post type called reviews. Here again we need a plural label, and a singular label, and when I click Add Post Type, it again gets added directly under Comments so now we have two custom post types, testimonials and reviews, and you can see here testimonials is the plural and it says all testimonials.
And if I go into a single one it’ll say testimonial. So far so good.